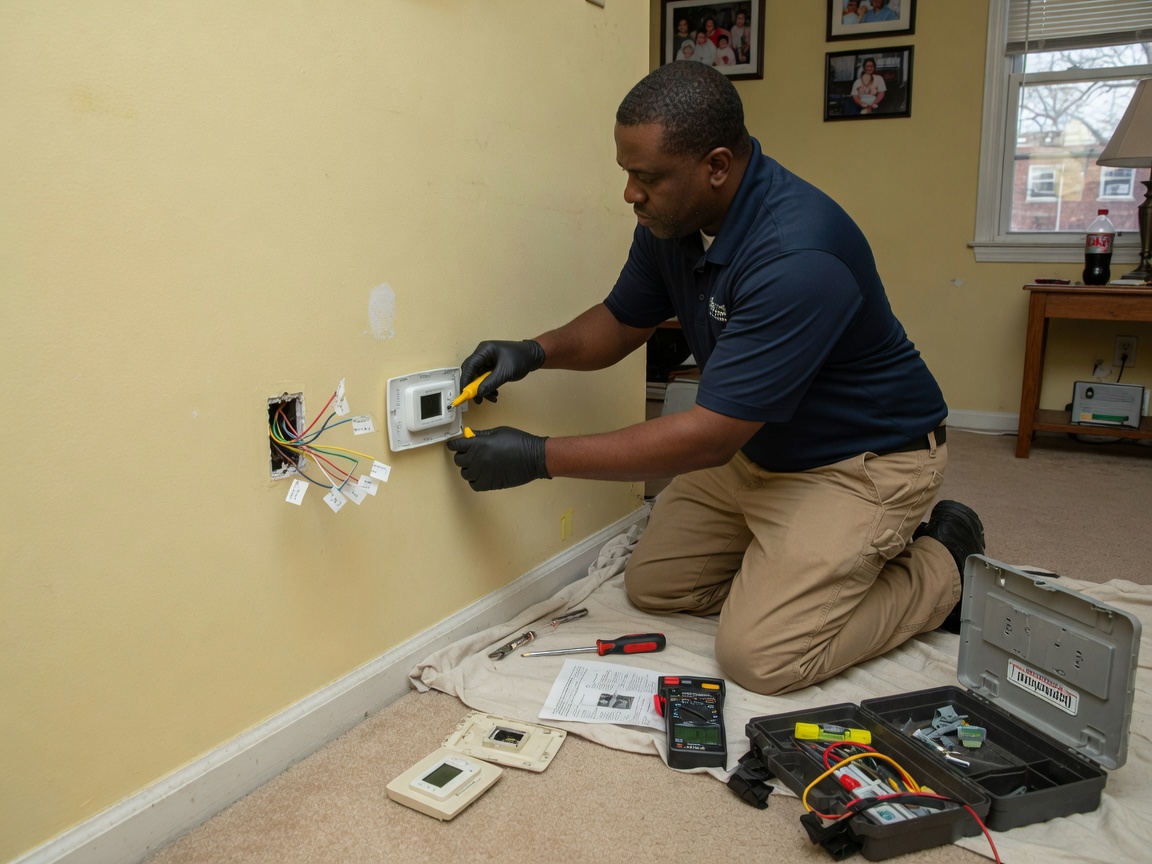
Springfield's housing stock in neighborhoods like Forest Park and Sixteen Acres often dates to the early-to-mid 1900s, with knob-and-tube or early Romex wiring that frequently lacks a common wire. Installing a modern thermostat here usually requires adding a C-wire or using a power extender kit to avoid draining batteries during long cold snaps. We check the furnace control board and air handler in the basement or attic first because many Chicopee and West Springfield homes share the same two-wire setups that fail once you move beyond a basic mechanical model.
Humid continental winters in Hampden County push systems hard from November through March, so we focus on accurate temperature swing settings and outdoor sensor placement where wind off the Connecticut River can create microclimates around the house. Edge cases include multi-story homes in Downtown Springfield where one thermostat cannot balance heat loss through uninsulated brick walls versus newer additions. We always verify the existing transformer rating because adding smart features can exceed the 40 VA limit still common in these older systems.
Code compliance in Springfield requires proper low-voltage wiring methods and labeling at the air handler. We pull permits when new lines are run through finished walls and test for proper staging on two-stage furnaces that became common after the 2000s upgrades in the area. Homeowners often discover their existing thermostat was short-cycling the boiler because the anticipator was never adjusted for the actual heat load of a Forest Park triple-decker.
Technician insight
In Springfield the thing that catches most people out with thermostat installation is pre-1960s wiring in Forest Park and Sixteen Acres homes that has no common wire and often undersized transformers once you add a smart model. Cold winter mornings expose the problem fast when the unit drops offline and the boiler short-cycles.
Sixteen Acres Ranch Home
Homeowner reported inconsistent heat on the main floor during January cold. We found a 1980s two-wire thermostat connected to a newer high-efficiency furnace with no C-wire. Added a power extender kit at the air handler, installed a Wi-Fi model, and balanced the single zone. System now holds steady temperature without the previous short-cycling.
Thermostat Installation Services We Offer
✓Smart Thermostat Installation
Replaces outdated controls with Wi-Fi models that learn local weather patterns and integrate with existing HVAC equipment in Hampden County homes.
✓Programmable Thermostat Upgrade
Installs seven-day programmable units that reduce energy use during long winter nights common in Sixteen Acres and Forest Park.
✓C-Wire Addition for Thermostat
Runs a new common wire or installs a power kit when older Springfield wiring lacks the connection needed for smart thermostats.
✓Multi-Zone Thermostat Setup
Adds separate controls for different floors or additions typical in Downtown Springfield and West Springfield properties.
✓Thermostat Calibration Service
Adjusts temperature swing and anticipator settings to stop short-cycling on older boilers found throughout Chicopee and Springfield.
Thermostat Installation Cost in Springfield, MA
| Service | Typical Range | What Affects It |
|---|---|---|
| Basic Mechanical Thermostat Installation | $120–$220 | Lower cost when wiring is already present and accessible. |
| Smart Thermostat Installation | $180–$350 | Higher when a C-wire or power kit must be added in older homes. |
| Multi-Zone Thermostat Addition | $300–$550 | Varies with number of zones and access to existing dampers or valves. |
| Thermostat Calibration Visit | $95–$160 | Covers adjustment on existing equipment without full replacement. |
Ranges are typical for Springfield, MA and confirmed with an exact written quote before any work starts.
How it works
- 1
Site Assessment
Inspect existing wiring, furnace or boiler controls, and transformer capacity in the basement or utility area.
- 2
Compatibility Check
Confirm the new thermostat works with the home's heating and cooling stages and note any needed adapters.
- 3
Wiring And Mounting
Install the base, run or adapt low-voltage lines, and mount the display on an interior wall away from drafts.
- 4
Testing And Handover
Verify proper operation through a full cycle, set schedules, and explain features to the homeowner.
Pricing
Upfront quotes after we see the existing wiring and equipment.